This is a step-by-step guide to setup an always on torrent machine.
Why would you want a dedicated torrent machine?:
- Large torrent downloads take time, and it isn’t cheap or feasible to have a loud and power hungry machine running all night to download data. This can lead to higher electricity bills.
- Usually after downloading data, It ends up in a external HDD anyways. This would require extra copying.
- You can’t download files on your laptop on any network, for various security and privacy reasons. So you have to wait until you get home before you start downloading a new torrent.
This is where the Raspberry Pi is useful, It is a cheap and silent machine which takes very little power to run. It allows the data in the HDD to be streamed over the local network to any device on your home network. This should reduce the number of wires and unnecessary copying. Finally, If configured properly you can initiate a torrent download on your RPI from anywhere in the world and come home to the data you want instead of more waiting, this won’t be covered in detail in this post.
Although this guide would work on any Debian based Linux system, it makes a lot more sense on a cheap and low power machine like a Raspberry Pi.
What you need:
- Raspberry Pi with terminal access either ssh or monitor and keyboard
- External HDD or USB
Step 1: Setup Deluge with Thinclient and WebUI
sudo apt-get update && sudo apt-get upgrade
sudo apt-get install deluged python3-mako deluge-web deluge-console
Run the following to setup the default config files, which we will modify soon.
deluged
Back up the default config and edit the config file with your favourite editor, I use vim, you can use nano.
cp ~/.config/deluge/auth ~/.config/deluge/auth.old
vim ~/.config/deluge/auth
Here you can specify the username and password used for deluge-console
It should be of the form username:password:level
For me this is pi:raspberry:10
Restart deluged to use the new config and open up deluge-console by running the following:
sudo pkill deluged
deluged
deluge-console
Insert the following into the prompt of deluge-console.
config -s allow_remote True
exit
This allows remote connections to your deluge daemon. Restart the deluge daemon one last time.
sudo pkill deluged
deluged
You have now setup deluge and the thinclient. Next we will setup deluge webUI, a lightweight and convenient way to access your torrents. To start the WebUI run:
deluge-web
Open your browser and navigate to http://localhost:8112 on the RPI or
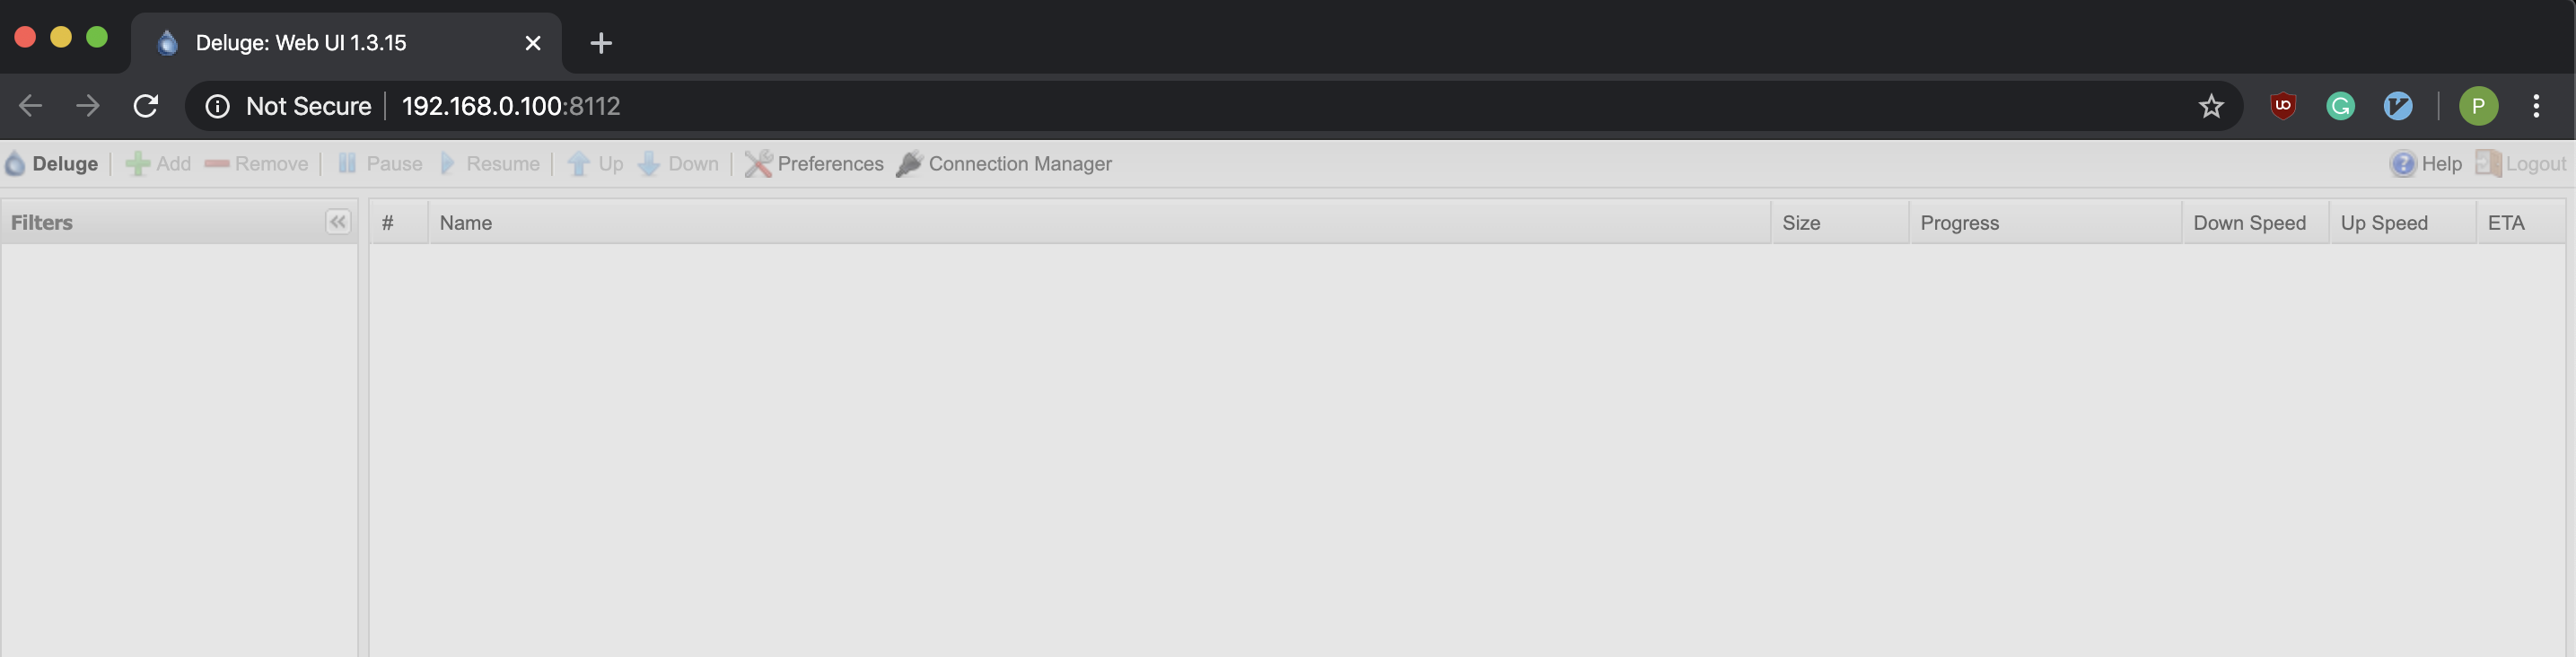
You will be prompted with a connection manager. Choose the connection and click connect.
You will then be prompted for a password
The default password is deluge
It is highly recommended that you change the password in the settings available in the WebUI.
The advantage of using the WebUI is that you can access it from any browser on any device. but you can also use a thinclient, for e.g, I use trireme
Note: When setting up deluge auto start, it’s important to set the right access level or deluge will not be able to access the external hard disk.
TODO: instructions to set up permissions via systemd.
Setup trireme on Android (Optional)
- Install it from here or from GitHub
- In the host field, enter the ip address of the rpi. The host field should already be filled in with
58846as the default port no. (if you didn’t change it). Click on continue. - The ‘save certifcate’ toggle should be off by default.
- Next, we come to the username and password fields, this should be filled with the username and password you set in
~/.config/deluge/auth. For me this ispiandraspberry. - That’s it! You should now be seeing your torrents and their status. Keep in mind that this only works when you’re on the same network. There is a way to make this work across the internet but that’s for another time.
Step 2. Configure and setup the hard disk
- Create the directory to store the downloads from deluge.
sudo mkdir /media/pi/usbhdd - Connect your hard disk to the Raspberry Pi.
- Run
sudo fdisk -lThis will return the list of drives. Identify your USB or HDD using the size and the filesystem specified. Make note of the path under the
Device. It is usually in the form of/dev/sda,/dev/sdb, etc. In my case, it’s /dev/sda5 - Run the following after replacing it with the path noted above.
sudo lsblk -l /dev/sda5Copy the UUID info. This will be used by the system to mount the correct USB to the right directory regardless of any other USBs that might be connected.
- Open
/etc/fstabwith your favourite editor insudomode.sudo vim /etc/fstabAdd the following to the bottom of the file.
UUID=<UUID of the HDD or USB> </path/to/mount/dir> <filesystem> defaults,nofail 0 0It should look something like this
UUID=db6882b8-8bb3-4c2f-9af7-e5e431bee600 /media/pi/usbhdd auto defaults,nofail 0 0The
nofailtells the system not to fail the entire bootup process if it can’t find the corresponding external disk. Save the file and close it. - Reboot the system and hope everything works out. If the system fails to boot It’s probably related to the
/etc/fstabfile. In which case you can load the SD card of the RPI on another system and manually edit the/etc/fstabback to how it was. - After a successful reboot open up Deluge WebUI and change the settings for the download location to the new mount dir made. In my case, it’s
/media/pi/usbhdd.
That’s it. You now have a 24/7 torrent machine always downloading data in the background at a very low power cost. Next, you should set up a VPN, so that your torrent downloads can not be tracked by your ISP or any other entity. You should also try Dataplicity which is what I use to access my RPI (and torrent client) from anywhere in the world with an internet connection.